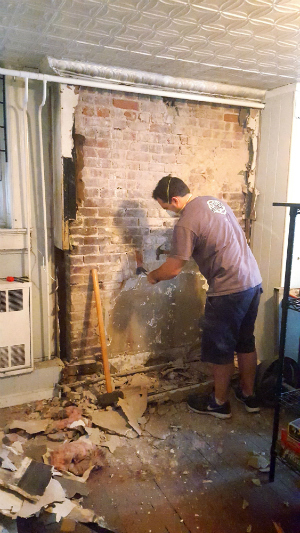
We had been wondering, thinking, hoping there was a fireplace behind one of our walls for years. All the signs were there…there was a protrusion from the foundation wall, other houses in the neighborhood built in the same period had fireplaces in the exact same place, and there was a slight draft. We were just waiting for the right time to take the plunge and rip open the wall to finally see if It really was there. That day occurred this past summer and we were pleasantly surprised with what we found beneath layers of paneling, wallpaper and plaster…our very own brick fireplace. It is non-functional, but it’s still pretty to look at.

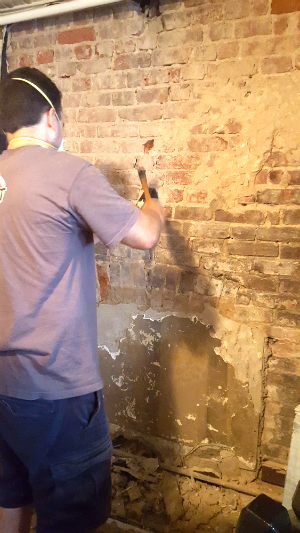
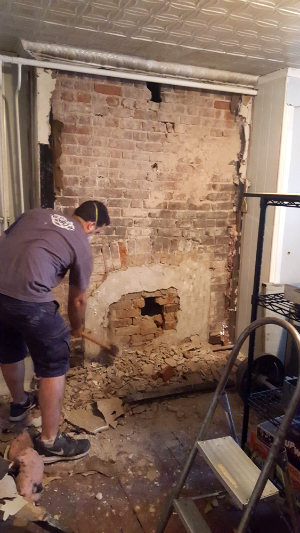
Our first steps were to remove all the concrete and plaster. That took some delicate crowbar work, and not so delicate sledgehammer work. The firebox had been bricked up and concrete was put over the brick. We decided to open it back up, but it could have been just as nice with the brick. In other houses we own, old fireplaces have been used as a way to run heat vents. This one is purely for decoration.
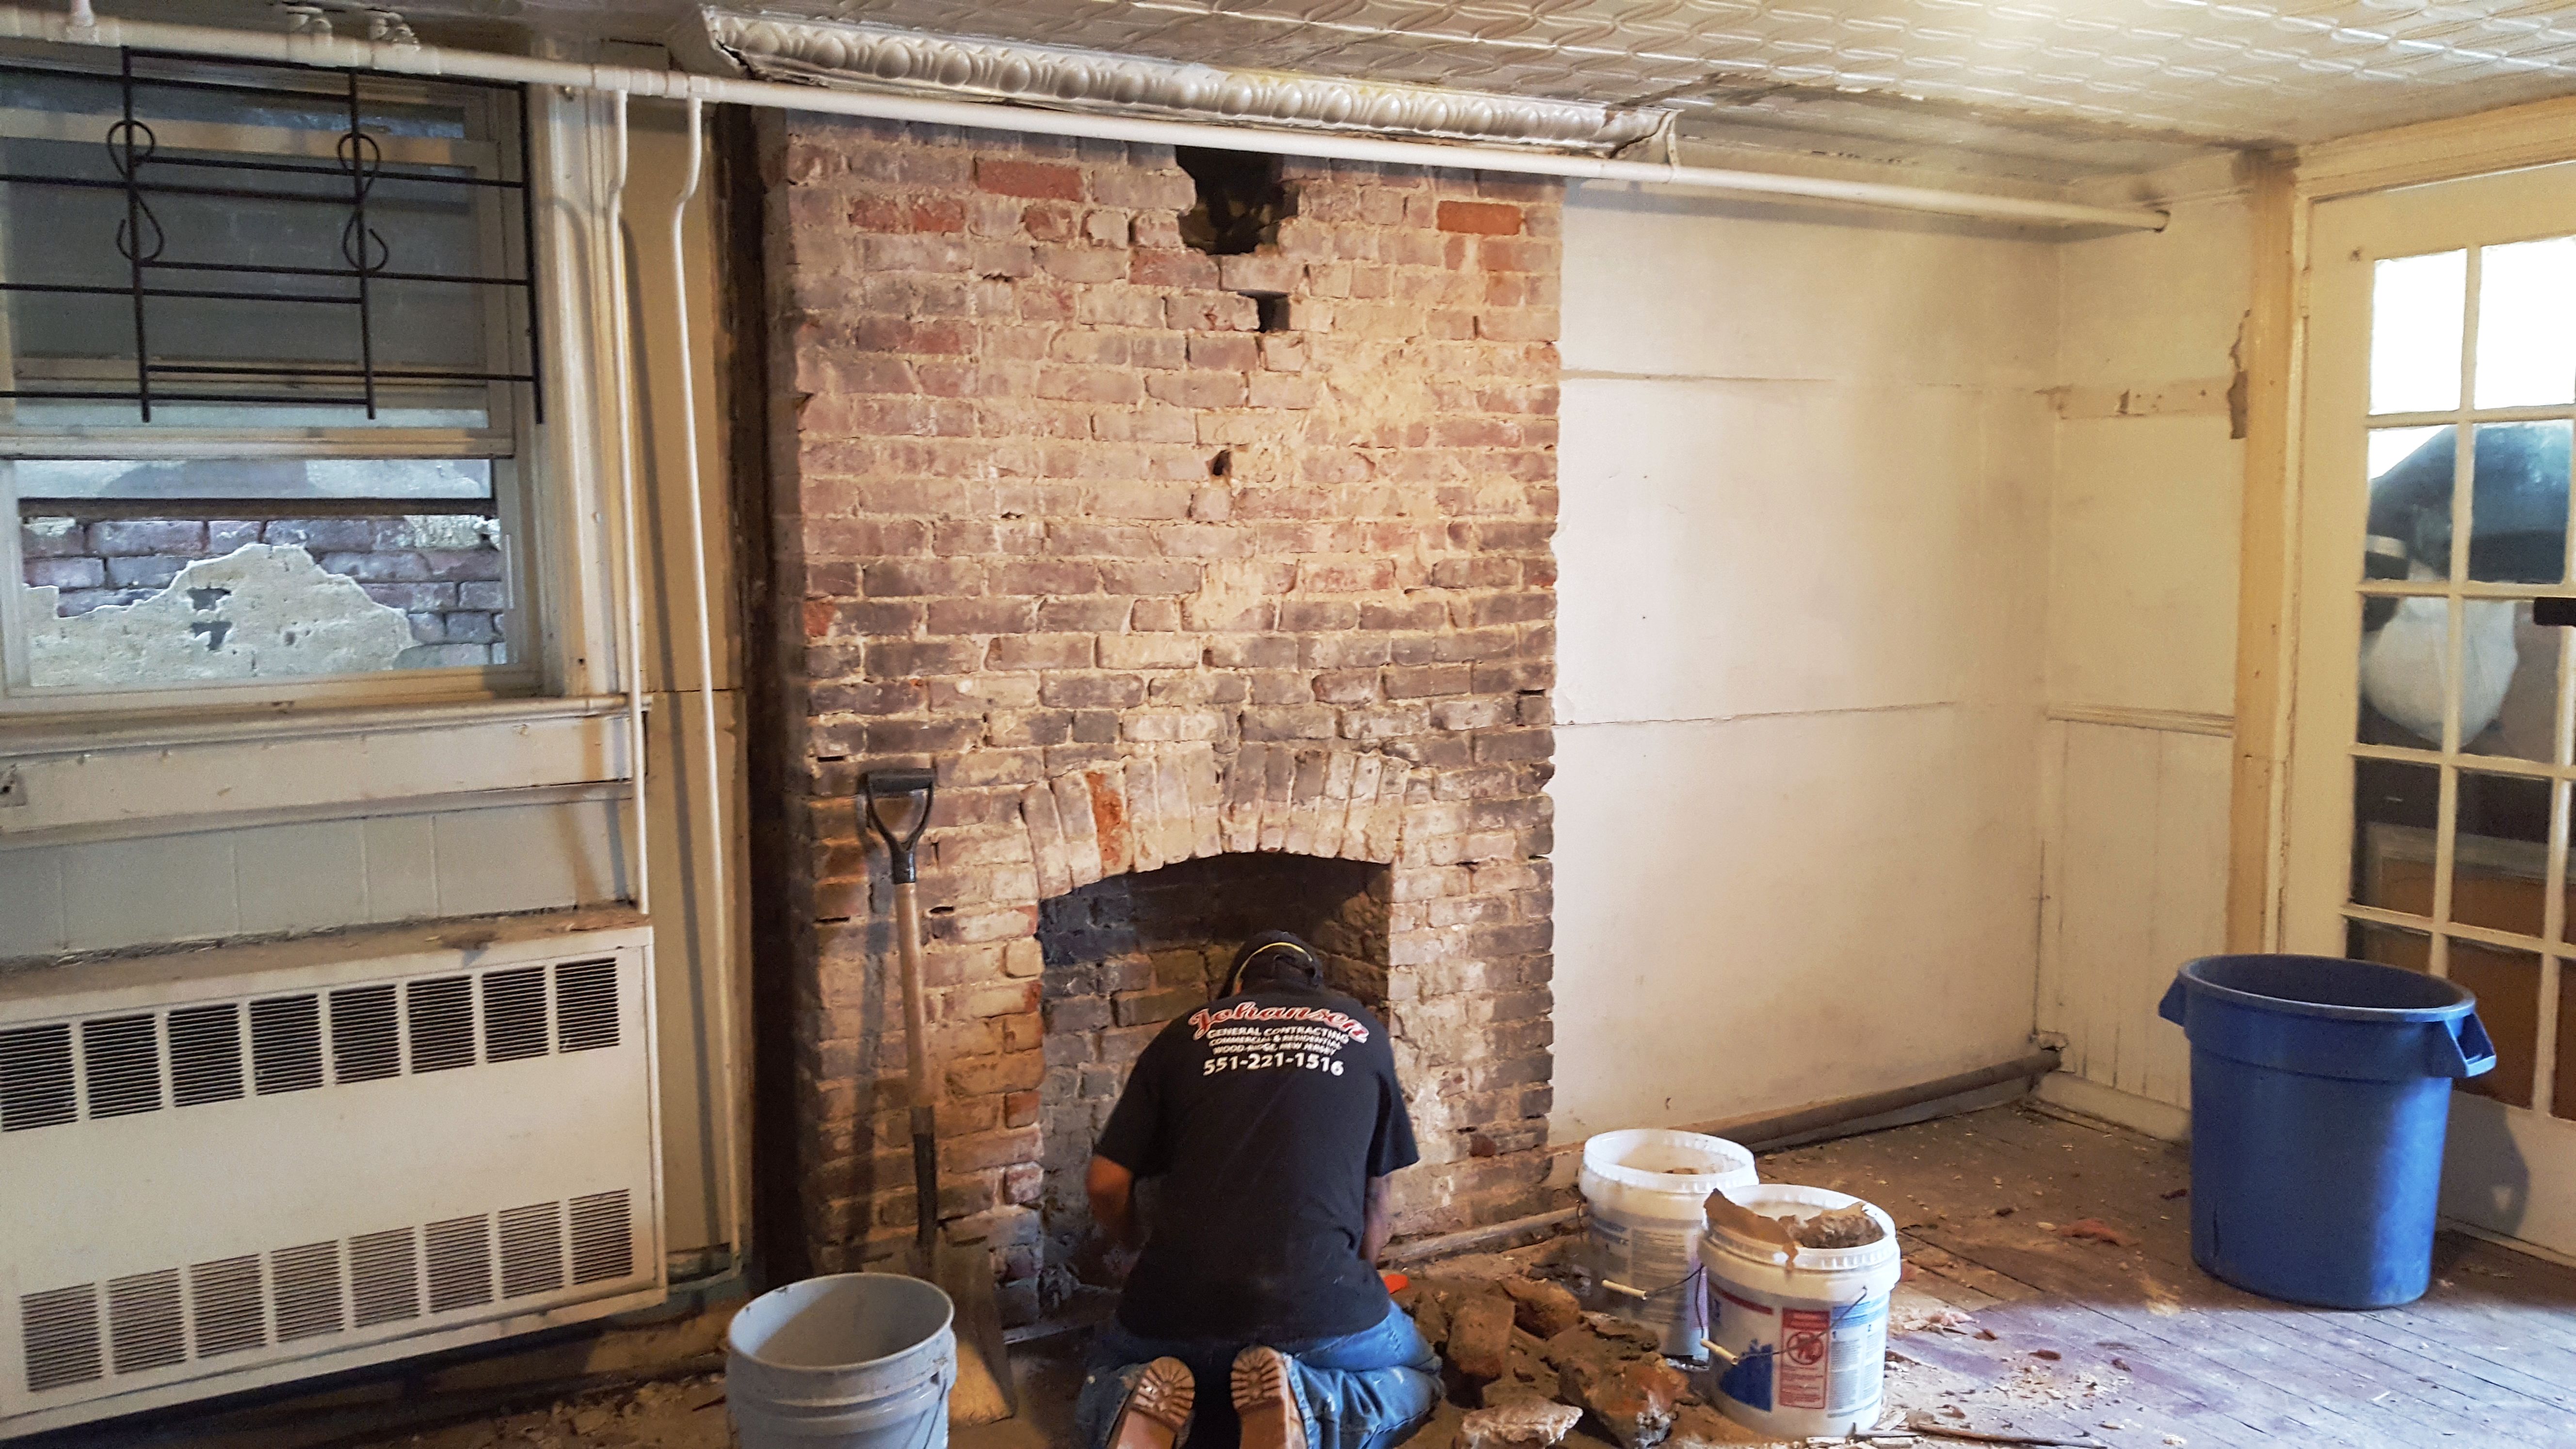
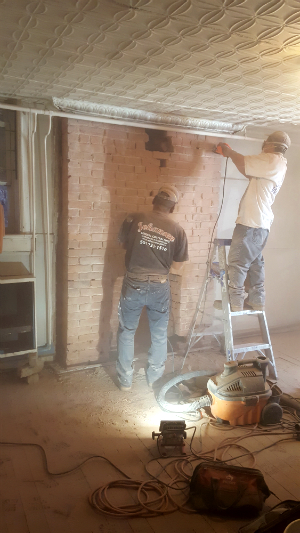
Once all the concrete and loose bricks were removed, it was time for grinding and removing the old mortar. This fully cleans all debris off the brick so you can start fresh and repoint. It creates a lot of dust, so it’s important to have proper ventilation, air flow, and to properly tape off and secure the room. The grinder can also gouge the brick if you aren’t careful.
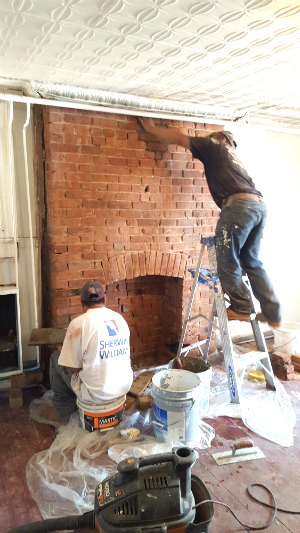
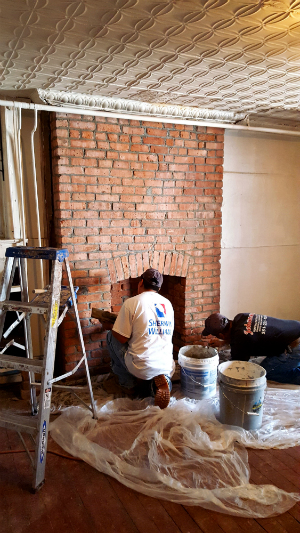
When grinding is complete, it’s time to repoint. This involves replacing any damaged bricks, patching in any holes with new bricks (reclaimed in this case), and then filling in the new mortar.
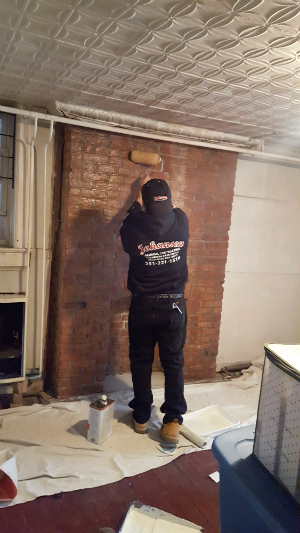
Once the mortar is dry, it’s time for the last step: sealing the brick.
Brick is extremely porous and will absorb any moisture or dirt (or paint drips), the sealer helps to protect the brick keeping it clean and fresh for years to come.
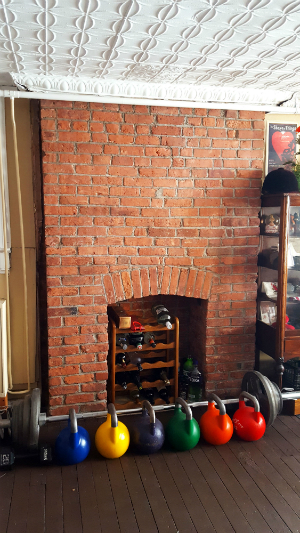
When the sealer dries you can paint and redecorate as desired.
Be the first to comment.